Stainless steel is a versatile and durable material used in countless applications, from industrial tools to personalized gifts. Making permanent, high-contrast marks on stainless steel can elevate its aesthetic or functional value.
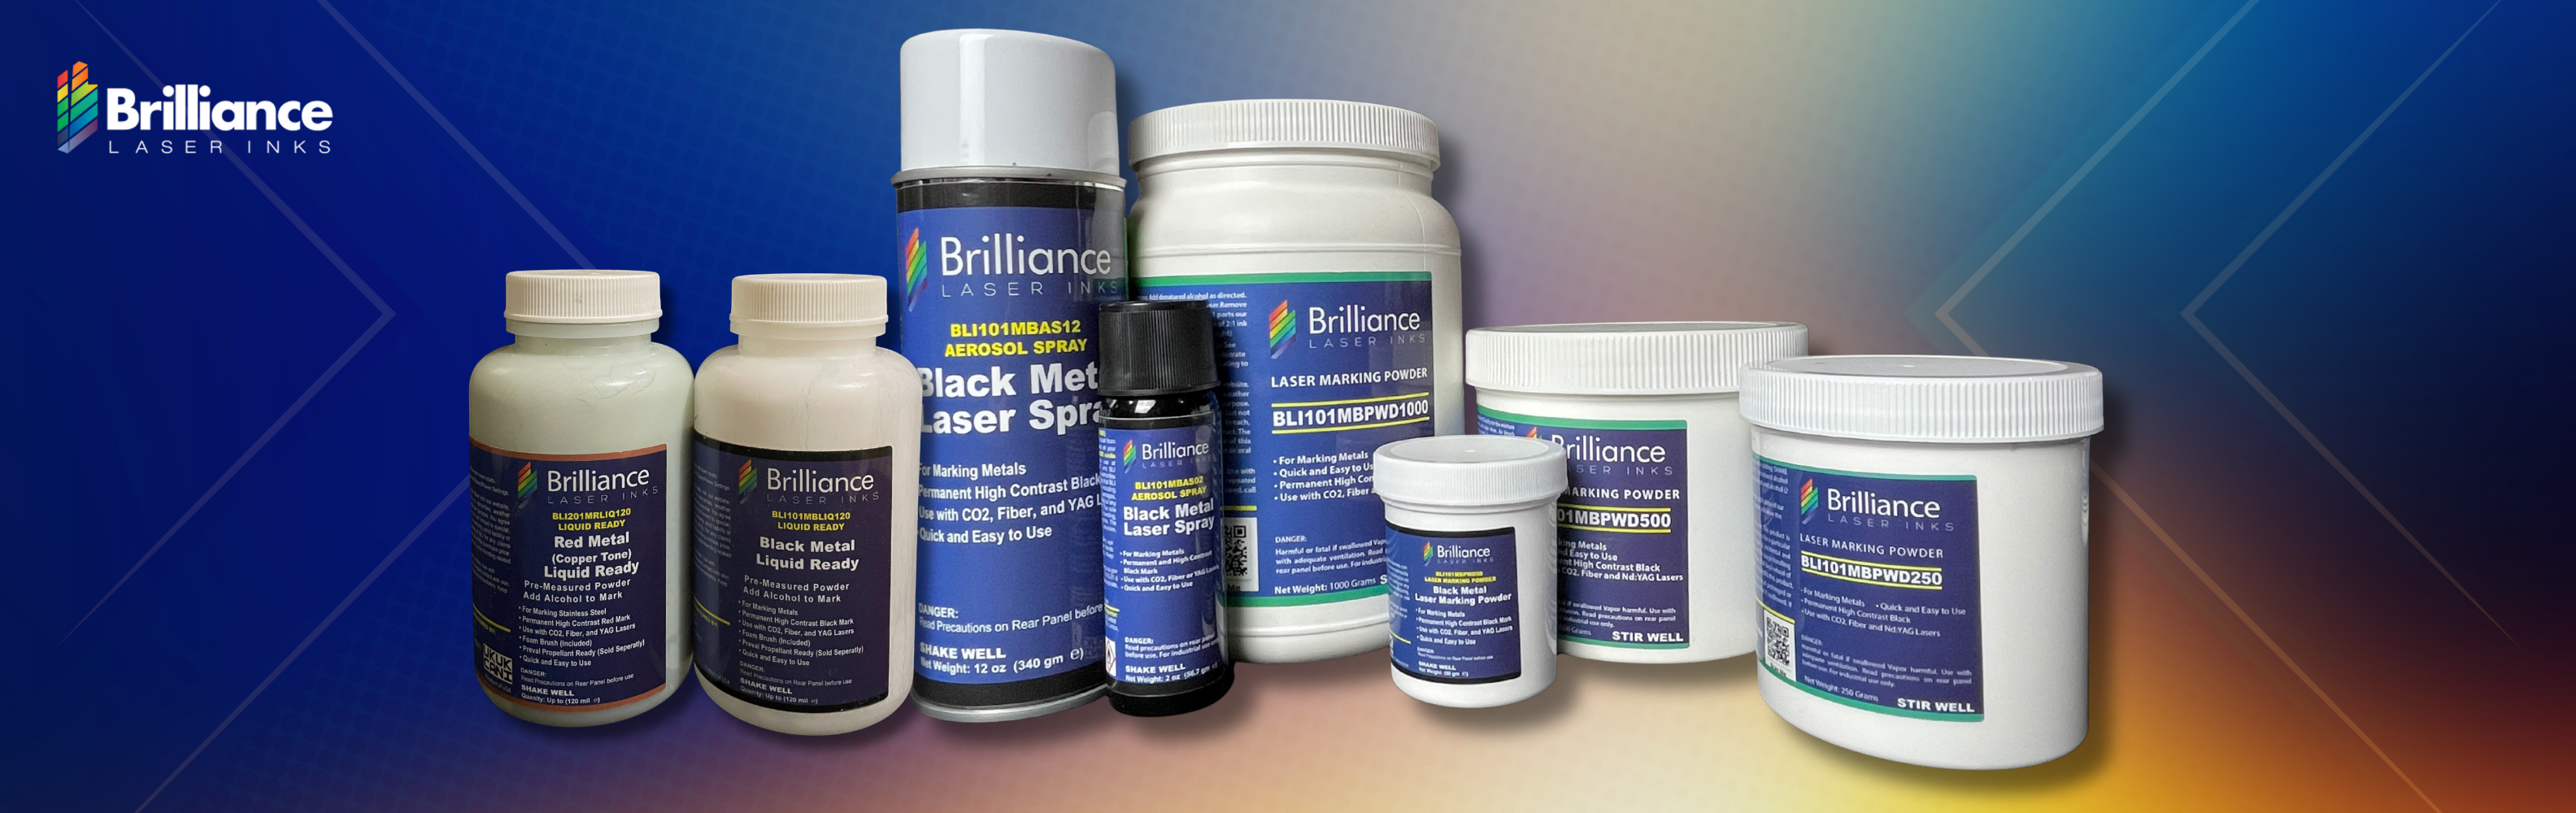
Brilliance Laser Inks offers advanced products designed for exceptional metal marking with laser engravers. Here, we explore three specific products—Universal Black Metal Laser Spray, Black Metal Liquid Ready-Laser Marking Powder, and Black Metal Concentrated Laser Marking Powder—and how to achieve outstanding results with each.
What Makes Brilliance Laser Inks Unique?
Brilliance Laser Inks has revolutionized laser marking by delivering easy-to-use, professional-grade products.
Here’s what sets them apart:
-
Precision and Contrast
Their products create clear, vibrant markings optimized for readability and durability.
Versatility
-
They work seamlessly with CO2, fiber, or YAG, and Diode Lasers, making them suitable for a range of laser engraving machines.
Durability
-
These markings are resistant to abrasion, chemicals, and high temperatures, ensuring they last in even the harshest conditions.
Now, let's break down how to use each of the three products for marking stainless steel with success.
Brilliance Laser Inks Universal Black Metal Laser Spray
The Universal Black Metal Laser Spray is a convenient aerosol spray that provides an even coating with minimal preparation. It is perfect for beginners due to its straightforward application.
How to Use the Universal Black Metal Laser Spray (Aerosol)
Follow these steps to get flawless results:
Step 1: Prepare the Surface
-
Start by cleaning your stainless steel object:
Use a lint-free cloth to remove any dirt, grease, or oils.
For tougher grime, wipe down the surface with isopropyl alcohol
Note: Alcohol recommendation: Denatured
-
Make sure the surface is fully dry before applying the spray.
Step 2: Apply the Spray
-
Shake the bottle well before using to ensure all the contents are properly mixed.
-
Hold the bottle at a 45° angle, about 6-8 inches away from the surface.
-
Use a left-to-right motion to apply an even, thin coat for metals. Apply just enough until the surface is no longer see-through.
Step 3: Allow the Spray to Dry
-
Drying time varies by temperature and layer thickness.
-
Speed up drying with a hot air gun or blow dryer.
-
Ensure the entire layer (not just the top) is dry.
-
Warm substrates can be laser marked and may improve results.
Step 4: Laser Engrave
-
Adjust your laser settings based on the material you’re working with.
-
Please check the general recommended settings by choosing the laser machine you are currently using.
Helpful links:
Suggested Laser settings: https://brilliancelaserinks.com/pages/settings
Step 5: Clean Up
-
There’s no waiting time required! Once you're done lasering, rinse the surface under tap water or simply wipe it with a wet cloth. That’s it—enjoy your permanent, high-quality mark on your finished product!
Top Tips for the Universal Spray
- Apply light, consistent layers of spray for even coverage.
- Work in a well-ventilated area to ensure clean application and safe usage.
- Benefits of the Universal Black Metal Laser Spray
- Quick and easy application.
Benefits of the Universal Black Metal Laser Spray (Aerosol)
- Suitable for small- to medium-scale projects.
- Ideal for hobbyists and first-time users.
Black Metal Liquid Ready-Laser Marking Powder
The Black Metal Liquid Ready-Laser Marking Powder is a pre-mixed liquid solution, offering the convenience of a ready-to-apply formula while providing professional-quality results.
How to Use Black Metal Liquid-Ready Powder
Step 1: Clean the Surface
-
Start by cleaning the material surface with alcohol to remove any dirt or oils.
-
Make sure the surface is completely dry before proceeding.
Step 2: Mix the Powder
-
Mix the Liquid-Ready powder with Denatured Alcohol or any Isopropyl Alcohol
-
The bottle has markings on the side of the label to guide you in adding denatured alcohol for both brush and spray applications. While both methods work, spray application is recommended, ideally using a Preval spray system.
Step 3: Apply the prepared laser ink powder
-
Using the brush, apply in a left-to-right motion to create a thin, even coat. Use just enough to ensure the surface is no longer see-through.
Step 4: Dry the Solution
-
Allow the solution to air-dry completely. The drying time varies but typically takes around 3-5 minutes.
-
Speed up drying with a hot air gun or blow dryer.
-
Ensure the entire layer (not just the top) is dry.
-
Warm substrates can be laser marked and may improve results.
Step 4: Laser Engrave
-
Adjust your laser settings based on the material you’re working with.
-
Please check the general recommended settings by choosing the laser machine you are currently using.
Helpful links:
Suggested Laser settings: https://brilliancelaserinks.com/pages/settings
Step 5: Clean Up
-
Rinse the surface under running water to remove any remaining solution. Wipe it dry to reveal the design.
Top Tips for the Liquid-Ready Solution
- Use a high-quality brush or sprayer to ensure even coverage.
- If applying with a brush, avoid overlap lines by working in one direction.
Benefits of the Black Metal Liquid Ready-Laser Marking Powder
- No mixing or dilution is required, which saves time.
- Offers excellent adhesion and consistency.
- Great for professionals who need efficiency and reliability.
Black Metal Concentrated Laser Marking Powder
For those who want more control over their marking materials, the Black Metal Concentrated Laser Marking Powder is an excellent choice. This powdered formula allows you to prepare the exact amount you need for your project.
How to Use Black Metal Concentrated Powder
Step 1: Mix the Powder
-
Mix the Powder with Denatured Alcohol or any Isopropyl Alcohol
-
Mix denatured alcohol and powder at a 1:1 ratio by weight. For example, 10 grams of powder and 10 grams of alcohol make a 1:1 ratio.
-
For bulk powders, please weigh the product in a separate beaker to create your desired ratio of powder and alcohol mixture.
Step 2: Prepare the Surface
-
Start by cleaning the material surface with alcohol to remove any dirt or oils.
-
Make sure the surface is completely dry before proceeding.
Step 3: Apply the Mixture
-
Using the brush, apply in a left-to-right motion to create a thin, even coat. Use just enough to ensure the surface is completely no longer see-through.
Step 4: Allow the Mixture to Dry
-
Drying time varies by temperature and layer thickness.
-
Speed up drying with a hot air gun or blow dryer.
-
Ensure the entire layer (not just the top) is dry.
-
Warm substrates can be laser marked and may improve results.
Step 5: Laser Engrave
-
Set your engraving machine to medium power and speed to ensure clean, consistent marks.
-
Adjust your laser settings based on the material you’re working with.
-
Please check the general recommended settings by choosing the laser machine you are currently using.
Helpful links:
Suggested Laser settings: https://brilliancelaserinks.com/pages/settings
Step 6: Rinse the Surface
-
Wash off the powder under running water or with a damp cloth.
Top Tips for the Concentrated Powder
- Mix only the amount you need to avoid waste.
- Store remaining powder in a cool, dry place for long-term use.
Benefits of Black Metal Concentrated Powder
- Offers flexibility for projects of varying sizes.
- Allows precise control over thickness and consistency.
- Suitable for advanced users who prefer customization.
Wrapping Up Your Stainless Steel Marking Process
Each of these products from Brilliance Laser Inks serves different needs and skill levels. Whether you’re a beginner seeking simplicity with the Universal Black Metal Spray or a professional requiring high flexibility with the Concentrated Powder, these solutions deliver exceptional results.
Key Takeaways
- Choose the product that aligns with your project’s demands.
- Always clean your metal surface before application for the best adhesion and precision.
- Experiment with laser settings to fine-tune the quality of your marks.
- With these products and techniques, you’re equipped to create high-quality engravings on stainless steel that are sharp, durable, and visually striking. Start marking with confidence today!